Now for the really fun part.... the Electronics!
I started off going through the projects in the book to get a good idea of how it all works together. As usual, I never could resist making everything unique.... within the first hour I was creating my own electronic circuits and wound up losing another night of sleep.
Here is a quick example on how I tested the Visual Basic code and the Basic Stamp code at the same time.
(enter picture here..... )
Yes, simple LED's configured so that when the corresponding 'Pin' is '1' then it would light up.
Nothing fancy but it sure helped work the bugs out of the serial communication code.
Note: The microprocessor can control a certain number of 'Pins' by executing a '1' for ON and a '0' for OFF. By controlling which pins are off and on, a programmer can control just about anything.
Individual Items:
Camera Trigger - I found THIS SITE that gave a quick and easy answer on how to use the microcontroller to take pictures. I (of course) modified it somewhat.
Here are three shots showing the circuit in action
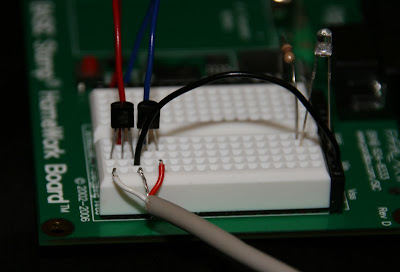
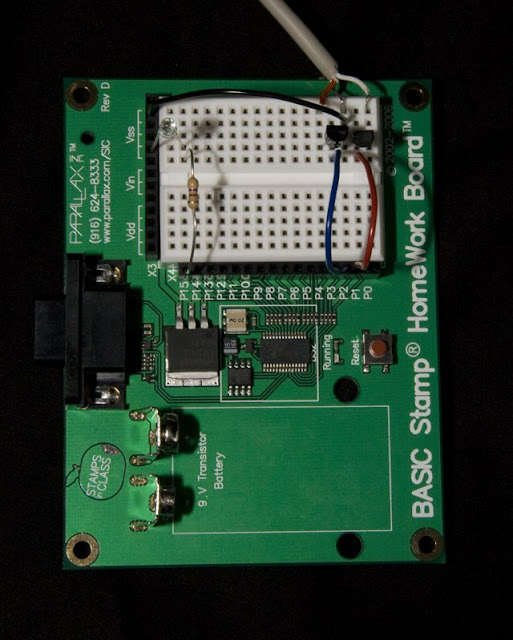
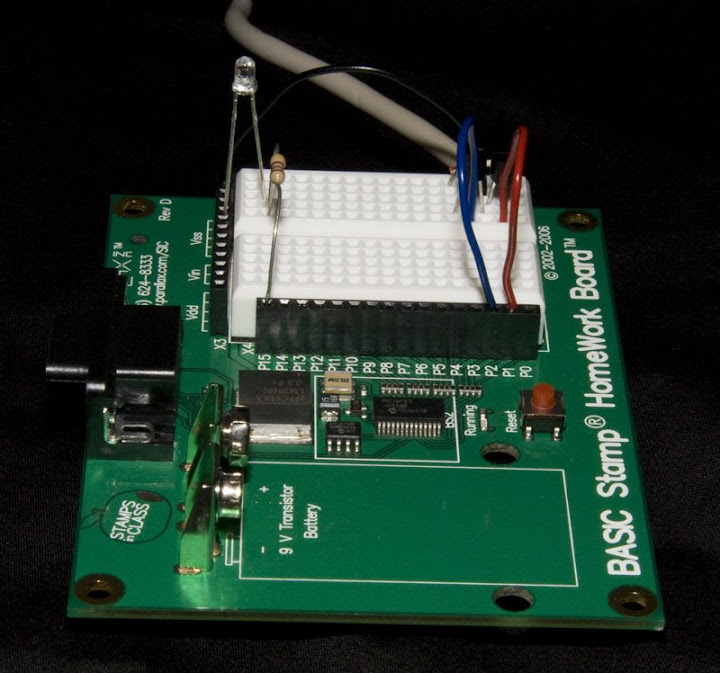
*Note: The LED is just for testing and is not needed
Sensors - I found HiViz after some searching around and they offered a simple answer to creating circuits that will help take pictures of fast moving objects . I'm going to purchase one of each kit and mash them together and control them with the microcontroller. (go figure)
Microcontroller - I'm going to stick with the Basic Stamp 2 this time around.
No comments:
Post a Comment